
Introduction
Whilst developing a website it's nice to have that extra piece of mind that emails won't be sent out to clients or customers. I think a perfect tool for doing this is MailHog.
In a previous article I spoke about getting Mailcatcher setup which is another alternative to Mailhog. The functionality you get out of it is pretty much identical however people may prefer one over the other.
Installing MailHog
In these instructions I am assuming you already have PHP and brew installed on your mac. If you don't you can follow this comprehensive guide to get them both installed.
Once that has been done already you can run the following commands:
brew update && brew install mailhog
brew services start mailhog
These update the package list for brew, install the MailHog too and set it up to run.
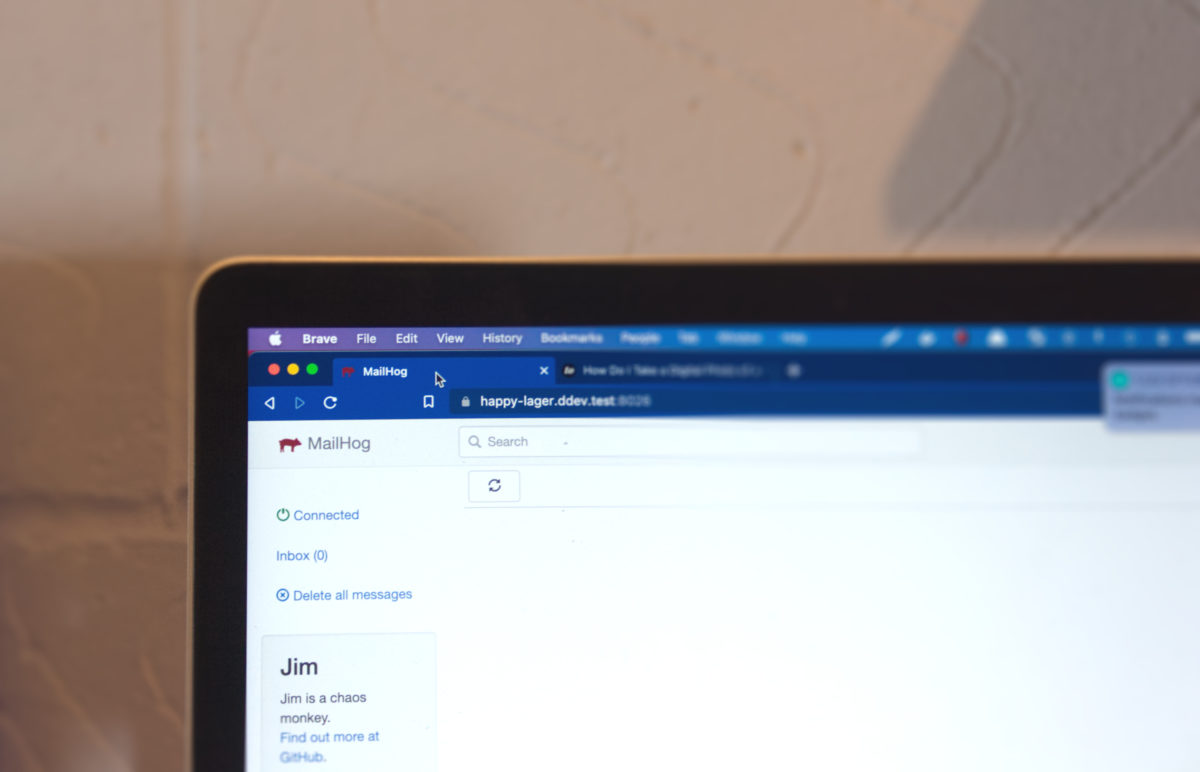
Once done, visit this url to check it's working: http://0.0.0.0:8025/
Setup MHSendmail ready to use with PHP
Next we need to install a tool known as mhsendmail. This is a dropin replacement for the sendmail command in PHP and makes the setup of Mailhog much smoother.
First off mhsendmail tool is built on top of go so if you don't already have it installed you can install it with the below command or download it manually from these instructions:
brew install go
Then get the package for mhsendmail using a go get command:
go get github.com/mailhog/mhsendmail
Setup sendmail path
In order to link the mhsendmail command to PHP we need to locate our php.ini file. If you have installed PHP using brew the path will be:
/usr/local/etc/php/7.3/php.ini
If this is not the case you can locate it using the following command:
php -i | grep 'php.ini'
After which you should see the following output containing the path to PHP's ini file:

Once you have found the file you can edit it with your command line text editor (I prefer vi however other options are available).
vi /usr/local/etc/php/7.3/php.ini
Find the line for sendmail path (it likely will be commented out if you haven't touched it before) and edit it to point the following:
sendmail_path = /Users/<mac-user>/go/bin/mhsendmail
Once you have done this be sure to restart PHP using the following command:
brew services restart php@7.3
You can copy and paste the below PHP script to see whether or not it is working:
<?php
echo mail('test@example.com', 'Some subject', 'some copy');
You can then run the script from the command line:
php mailtest.php
After doing that you should then be able to see the email in mailhog at this url: http://0.0.0.0:8025/
Setup mailhog to start on boot
When starting up my mac I like to know that all services I need are booted up and working correctly. In order to setup booting software on startup you can use the following command to link mailhog into it.
cp `brew --prefix mailhog`/*mailhog*.plist ~/Library/LaunchAgents/
launchctl load -w ~/Library/LaunchAgents/*mailhog*.plist
Whilst doing this I did encounter the following issue:
Load failed: 5: Input/output error
In order to resolve this, you can do the following:
launchctl unload ~/Library/LaunchAgents/homebrew.mxcl.mailhog.plist
launchctl load -w ~/Library/LaunchAgents/homebrew.mxcl.mailhog.plist
Conclusion
After following the above steps you should now have Mailhog working within PHP on your local environment. Feel free to reach out with any questions in the comments and I'll do my best to help.
