
Introduction
Over the last couple of years I have had an interest setting up my own homelab. Whats a homelab? A homelab takes many forms and can simply be a small machine running a few applications and services all the way up to large server racks housing muliple different servers aimed at large scale workloads.
This all started when work were getting rid of older machines and I started out fairly humbly with an older Acer workstation. This was an older, modest machine from around 2012 - 2014 and originally ran Windows 8. It had around 4GB of RAM and a spinning hard drive.
My first thought was to get some upgraded hardware to make it more powerful and quicker. I replaced the old spinning hard drive with an SSD to help with performance. I also replaced the old 4GB of RAM with 8GB of RAM to help with performance.
Part 1 - Setting up the Host Machine
Initially I decided to install Proxmox VE onto the machine. This is a very popular well recommended option in the homelab community.
Proxmox VE logo
It has a lot of support with a wide range of documentation and guides. It felt like a great starting point to begin playing around with networking and virtual machines.
I initially installed Proxmox onto the machine but hit a small snag when I realised I had accidentally downloaded the mail server instead of the virtual environment which caused me a bit of confusion at first.
Having finally located the correct download I proceed with the install and began to have a look around the software.
Part 2 - Project Plans and Hardware
After having Promox setup on a host machine, I started looking into tutorials on it and what others had done on YouTube. This lead me down a bit of a rabbit hole and lead me towards looking into Routers and Networking.
Part 3 - Setting up a router
Hardware
I purchased a second machine, a Dell Optiplex 3020 SFF and bought an additional PCI network card.
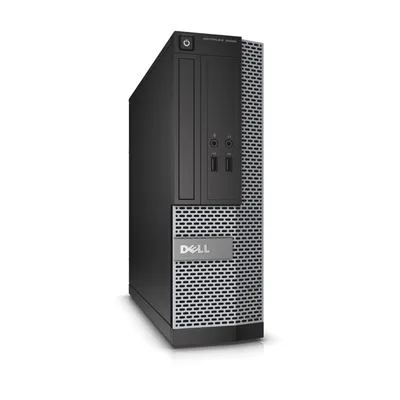
Dell Optiplex 3020 SFF (Small Form Factor)
The plan was to make this machine my router so I needed both a WAN and LAN port to take an incoming network connection and send it out to the other machine.
Operating System
There were a few options for different Router based operating systems and in the end I settled on using something called pfSense. PFSense had a lot of support and was quite popular in the homelab community at the time. I found a lot of guides and tutorials which helped me to solidify the choice.
Part 4 - VLANs and Networking
During my research I realised that if I was going to look into setting up a homelab with the goal of hosting things to the public internet, I would need to look into VLANs and Networking. This would add the ability to lock certain parts of the network down and prevent certain devices from accessing certain parts of the network.
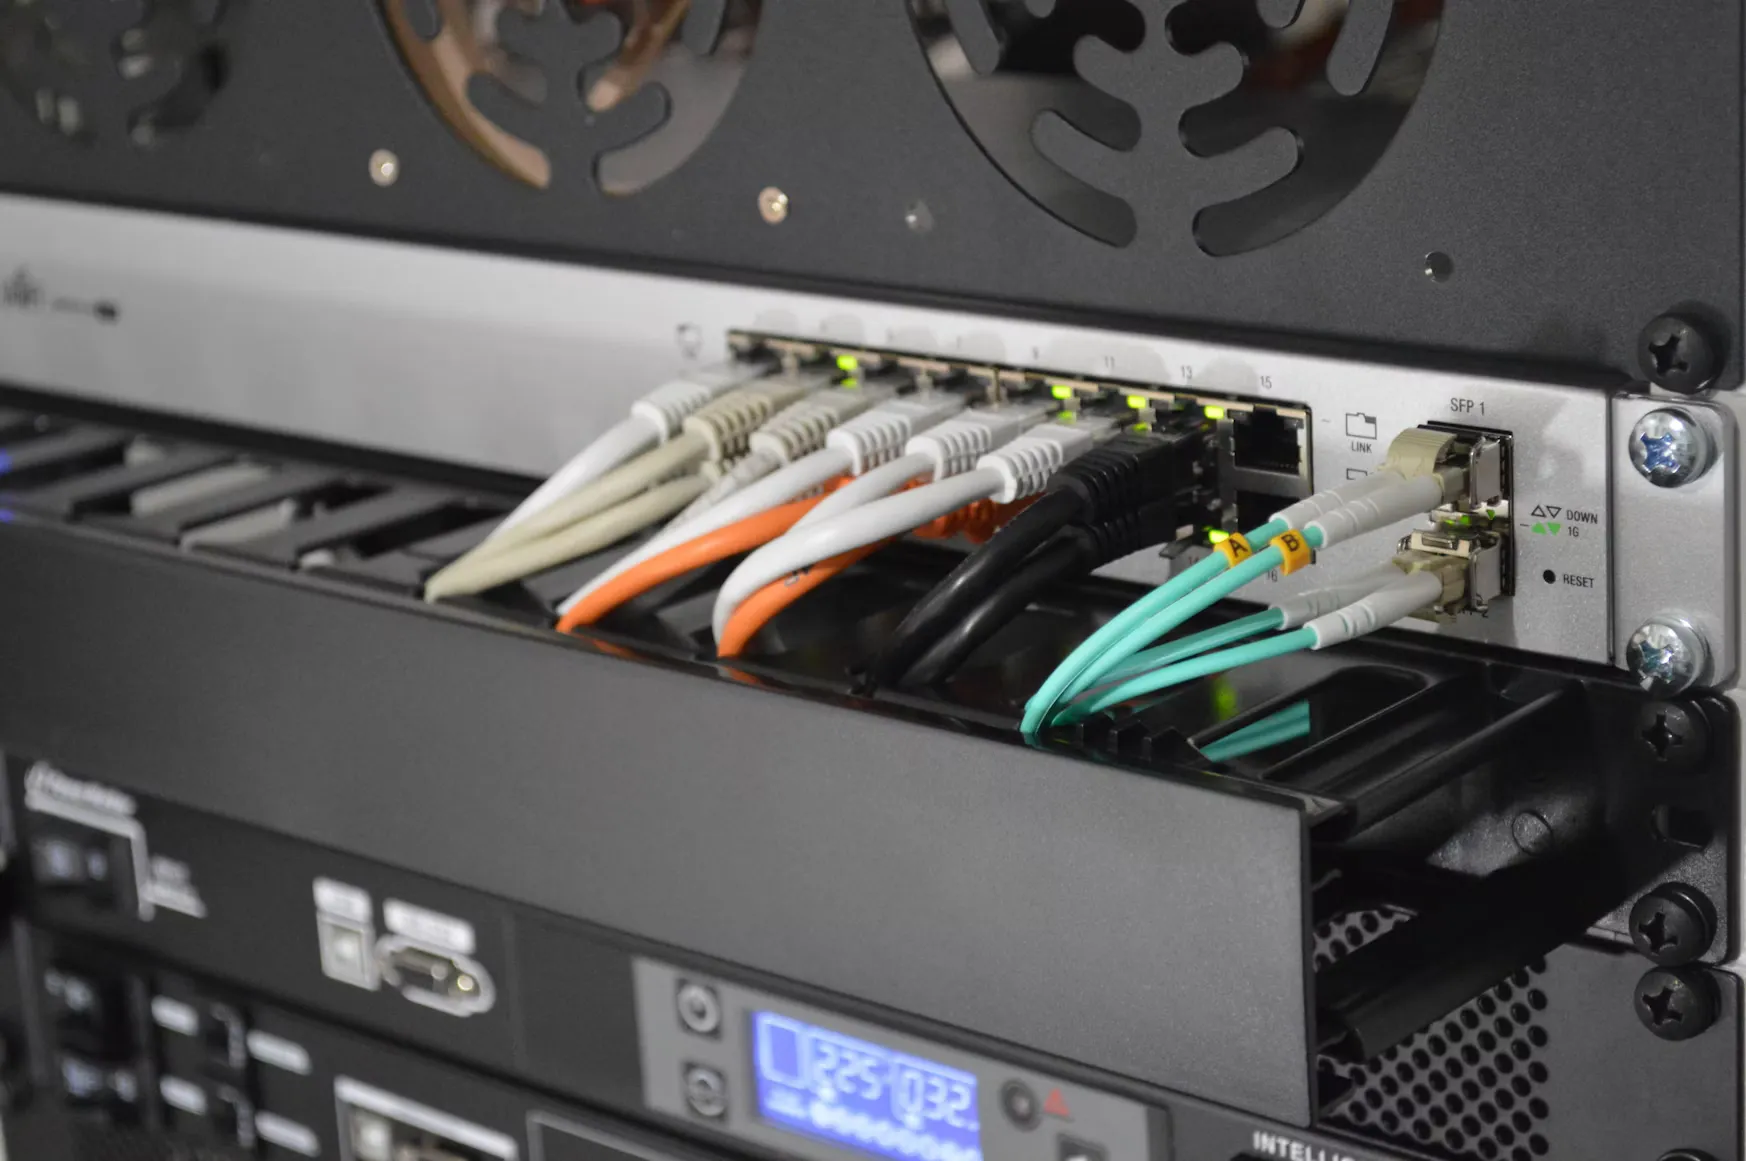
For this job, I purchased a TP-Link SG108E network switch, which is only 1GBps but is very cheap and reliable. This is a managed switch which means it has a web interface which allows you to configure the switch and set up VLANs, DHCP, etc. Unmanaged switches don’t have this functionality and are simply a box with ports that you can plug cables into.
TP-Link SG108E network switch
Wrapping up
This article covered my first steps towards building my homelab and talked about the hardware I purchased and some of the terminology I learned and how I could start putting it into practice.
I’ve had this homelab setup for a few years and there are things which have changed over time. I’ll therefore cover more about my journey in the next article. I’ve more to share about the project and what I’ve learned along the way, a few details about the setup and services I decided to run.